BREAKING NEWS
LATEST POSTS
-
SourceTree vs Github Desktop – Which one to use
Sourcetree and GitHub Desktop are both free, GUI-based Git clients aimed at simplifying version control for developers. While they share the same core purpose—making Git more accessible—they differ in features, UI design, integration options, and target audiences.
Installation & Setup
- Sourcetree
- Download: https://www.sourcetreeapp.com/
- Supported OS: Windows 10+, macOS 10.13+
- Prerequisites: Comes bundled with its own Git, or can be pointed to a system Git install.
- Initial Setup: Wizard guides SSH key generation, authentication with Bitbucket/GitHub/GitLab.
- GitHub Desktop
- Download: https://desktop.github.com/
- Supported OS: Windows 10+, macOS 10.15+
- Prerequisites: Bundled Git; seamless login with GitHub.com or GitHub Enterprise.
- Initial Setup: One-click sign-in with GitHub; auto-syncs repositories from your GitHub account.
Feature Comparison
(more…)Feature Sourcetree GitHub Desktop Branch Visualization Detailed graph view with drag-and-drop for rebasing/merging Linear graph, simpler but less configurable Staging & Commit File-by-file staging, inline diff view All-or-nothing staging, side-by-side diff Interactive Rebase Full support via UI Basic support via command line only Conflict Resolution Built-in merge tool integration (DiffMerge, Beyond Compare) Contextual conflict editor with choice panels Submodule Management Native submodule support Limited; requires CLI Custom Actions / Hooks Define custom actions (e.g., launch scripts) No UI for custom Git hooks Git Flow / Hg Flow Built-in support None Performance Can lag on very large repos Generally snappier on medium-sized repos Memory Footprint Higher RAM usage Lightweight Platform Integration Atlassian Bitbucket, Jira Deep GitHub.com / Enterprise integration Learning Curve Steeper for beginners Beginner-friendly - Sourcetree
-
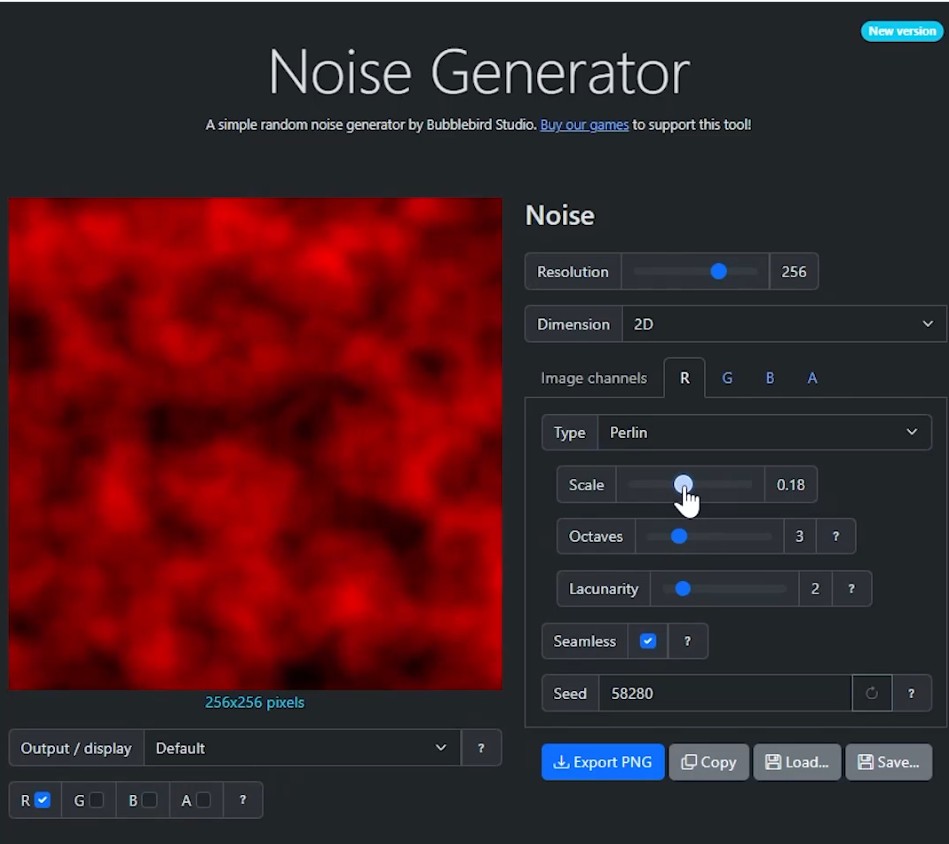
Bubblebird-Studio – Free NoiseGenerator
https://github.com/Bubblebird-Studio/NoiseGenerator
It currently support the following noise models:
Support for Blue Noise is planned.
You can freely use it here: https://noisegen.bubblebirdstudio.com/
-
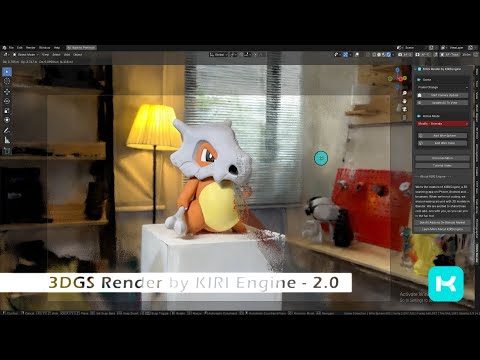
Free 3DGS Render Addon for Blender 2.0
https://superhivemarket.com/products/3dgs-render-by-kiri-engine
https://github.com/Kiri-Innovation/3dgs-render-blender-addon
https://www.kiriengine.app/blender-addon/3dgs-render
The addon is a full 3DGS editing and rendering suite for Blender.3DGS scans can be created from .OBJ files, or 3DGS .PLY files can be imported as mesh objects, offering two distinct workflows. The created objects can be manipulated, animated and rendered inside Blender. Or Blender can be used as an intermediate editing and painting software – with the results being exportable to other 3DGS software and viewers.
-
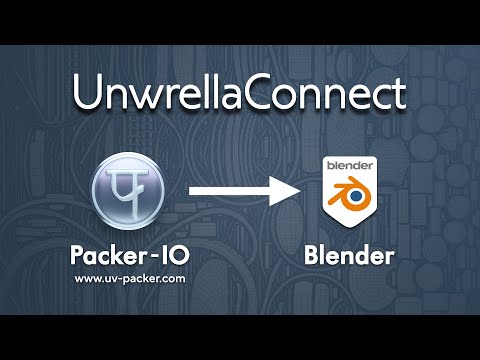
Unwrella Connect – A Free UV-Packer-IO Bridge for Blender
Homepage: https://www.uv-packer.com/
Download: https://www.uv-packer.com/blender/
Documentation: https://docs.3d-plugin.com/https://docs.3d-plugin.com/unwrellaconnect-blender
UnwrellaConnect for Blender is an extension that seamlessly connects Blender to our standalone UV editing applications, allowing you to run their powerful functionality directly from within the Blender interface – no need to leave your workflow.


FEATURED POSTS


-
Photography basics: Lumens vs Candelas (candle) vs Lux vs FootCandle vs Watts vs Irradiance vs Illuminance
https://www.translatorscafe.com/unit-converter/en-US/illumination/1-11/

The power output of a light source is measured using the unit of watts W. This is a direct measure to calculate how much power the light is going to drain from your socket and it is not relatable to the light brightness itself.
The amount of energy emitted from it per second. That energy comes out in a form of photons which we can crudely represent with rays of light coming out of the source. The higher the power the more rays emitted from the source in a unit of time.
Not all energy emitted is visible to the human eye, so we often rely on photometric measurements, which takes in account the sensitivity of human eye to different wavelenghts


Details in the post
(more…)
-
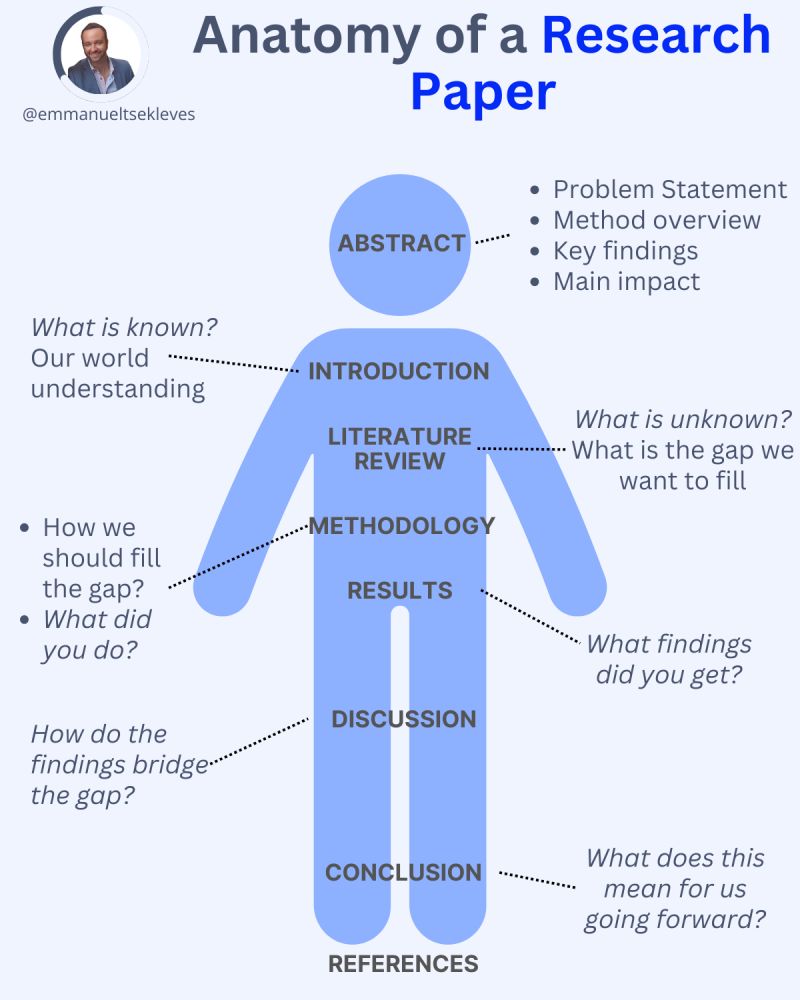
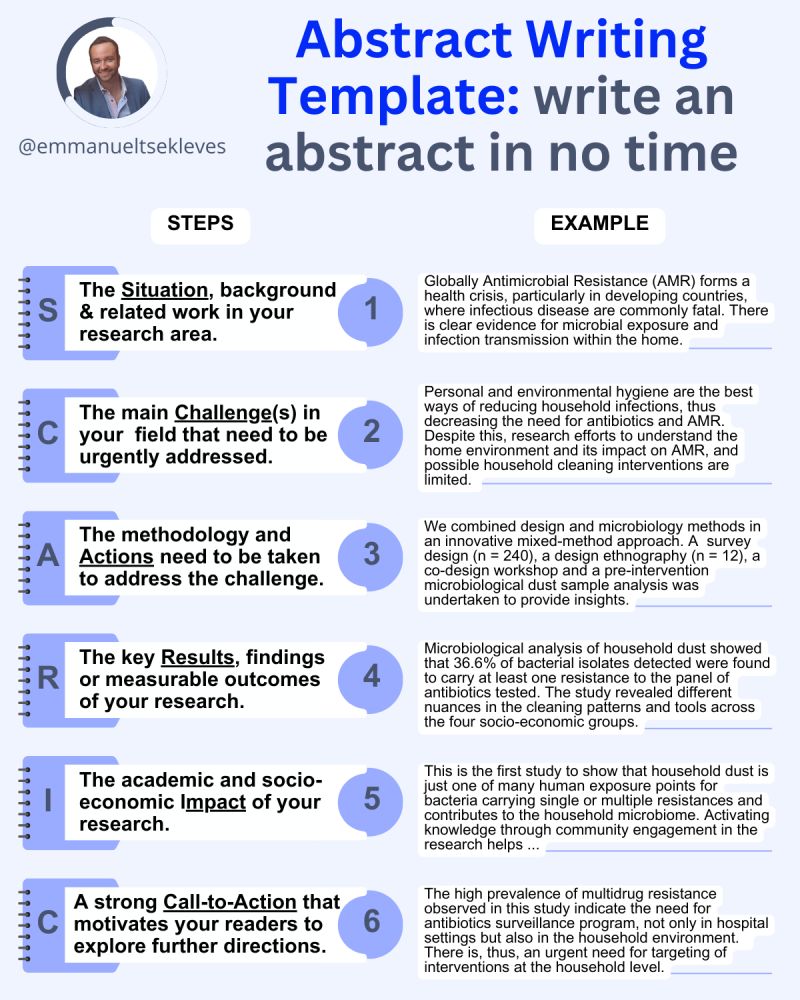
Emmanuel Tsekleves – Writing Research Papers
Here’s the journey of crafting a compelling paper:
1️. ABSTRACT
This is your elevator pitch.
Give a methodology overview.
Paint the problem you’re solving.
Highlight key findings and their impact.
2️. INTRODUCTION
Start with what we know.
Set the stage for our current understanding.
Hook your reader with the relevance of your work.
3️. LITERATURE REVIEW
Identify what’s unknown.
Spot the gaps in current knowledge.
Your job in the next sections is to fill this gap.
4️. METHODOLOGY
What did you do?
Outline how you’ll fill that gap.
Be transparent about your approach.
Make it reproducible so others can follow.
5️. RESULTS
Let the data speak for itself.
Present your findings clearly.
Keep it concise and focused.
6️. DISCUSSION
Now, connect the dots.
Discuss implications and significance.
How do your findings bridge the knowledge gap?
7️. CONCLUSION
Wrap it up with future directions.
What does this mean for us moving forward?
Leave the reader with a call to action or reflection.
8️. REFERENCES
Acknowledge the giants whose shoulders you stand on.
A robust reference list shows the depth of your research.