QuickTime (.mov) files are fundamentally time-based, not frame-based, and so don’t have a built-in, uniform “first frame/last frame” field you can set as numeric frame IDs. Instead, tools like Shotgun Create rely on the timecode track and the movie’s duration to infer frame numbers. If you want Shotgun to pick up a non-default frame range (e.g. start at 1001, end at 1064), you must bake in an SMPTE timecode that corresponds to your desired start frame, and ensure the movie’s duration matches your clip length.
How Shotgun Reads Frame Ranges
Default start frame is 1. If no timecode metadata is present, Shotgun assumes the movie begins at frame 1.
Timecode ⇒ frame number. Shotgun Create “honors the timecodes of media sources,” mapping the embedded TC to frame IDs. For example, a 24 fps QuickTime tagged with a start timecode of 00:00:41:17 will be interpreted as beginning on frame 1001 (1001 ÷ 24 fps ≈ 41.71 s).
Embedding a Start Timecode
QuickTime uses a tmcd (timecode) track. You can bake in an SMPTE track via FFmpeg’s -timecode flag or via Compressor/encoder settings:
Compute your start TC.
Desired start frame = 1001
Frame 1001 at 24 fps ⇒ 1001 ÷ 24 ≈ 41.708 s ⇒ TC 00:00:41:17
Aider enables developers to interactively generate, modify, and test code by leveraging both cloud-hosted and local LLMs directly from the terminal or within an IDE. Key capabilities include comprehensive codebase mapping, support for over 100 programming languages, automated git commit messages, voice-to-code interactions, and built-in linting and testing workflows. Installation is straightforward via pip or uv, and while the tool itself has no licensing cost, actual usage costs stem from the underlying LLM APIs, which are billed separately by providers like OpenAI or Anthropic.
Key Features
Cloud & Local LLM Support Connect to most major LLM providers out of the box, or run models locally for privacy and cost control aider.chat.
Codebase Mapping Automatically indexes all project files so that even large repositories can be edited contextually aider.chat.
100+ Language Support Works with Python, JavaScript, Rust, Ruby, Go, C++, PHP, HTML, CSS, and dozens more aider.chat.
Git Integration Generates sensible commit messages and automates diffs/undo operations through familiar git tooling aider.chat.
Voice-to-Code Speak commands to Aider to request features, tests, or fixes without typing aider.chat.
Images & Web Pages Attach screenshots, diagrams, or documentation URLs to provide visual context for edits aider.chat.
Linting & Testing Runs lint and test suites automatically after each change, and can fix issues it detects
Sourcetree and GitHub Desktop are both free, GUI-based Git clients aimed at simplifying version control for developers. While they share the same core purpose—making Git more accessible—they differ in features, UI design, integration options, and target audiences.
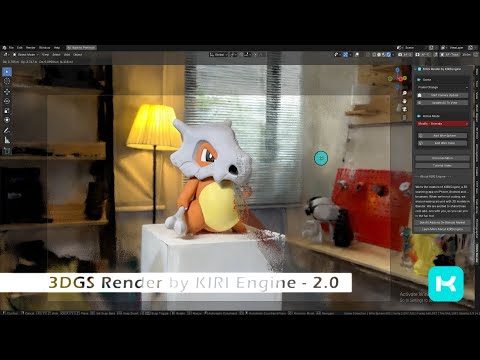
The addon is a full 3DGS editing and rendering suite for Blender.3DGS scans can be created from .OBJ files, or 3DGS .PLY files can be imported as mesh objects, offering two distinct workflows. The created objects can be manipulated, animated and rendered inside Blender. Or Blender can be used as an intermediate editing and painting software – with the results being exportable to other 3DGS software and viewers.
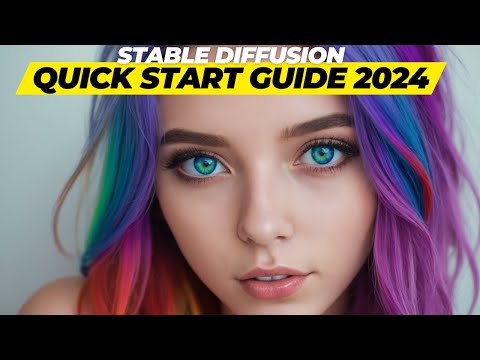
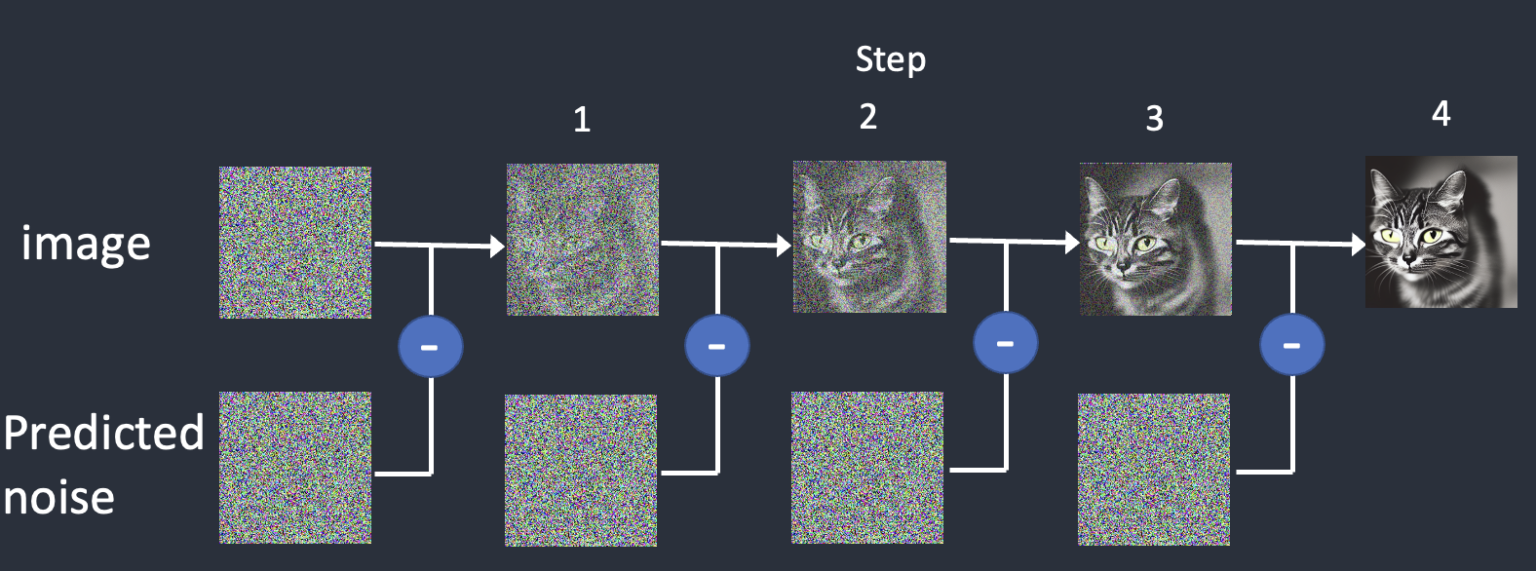
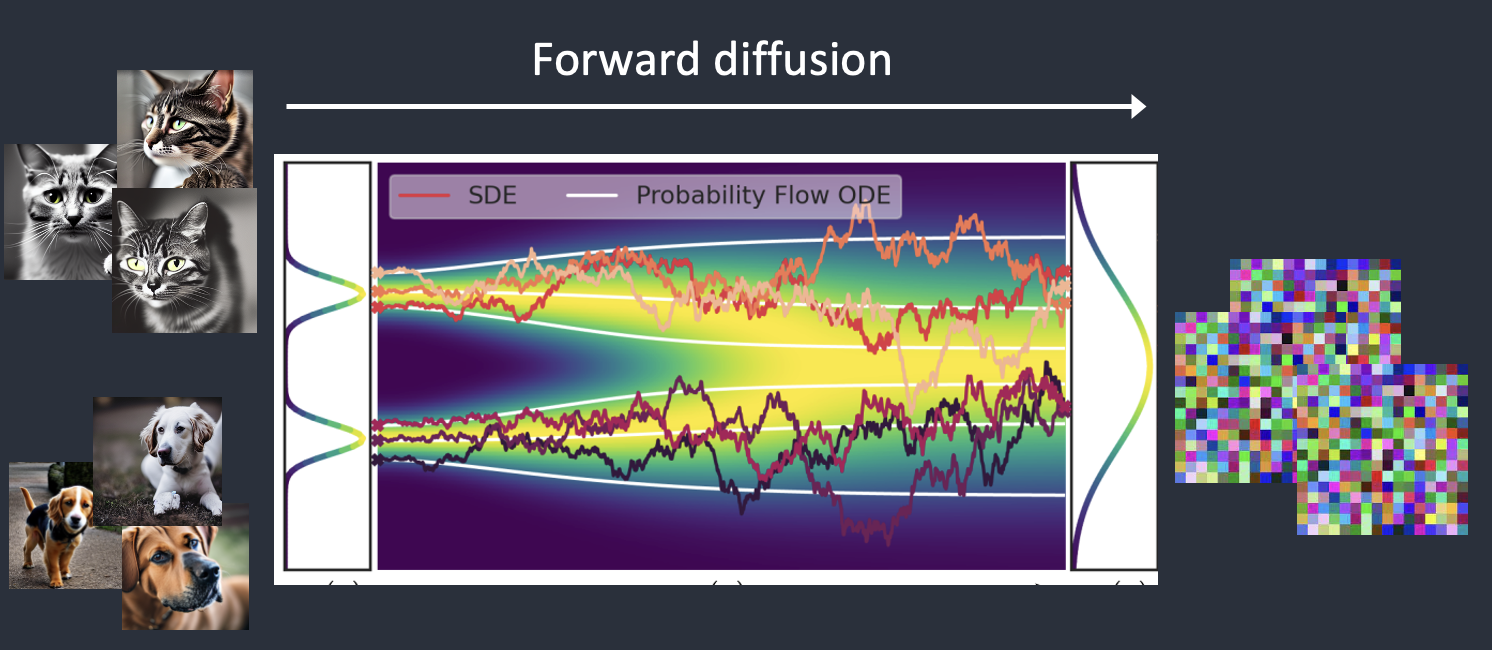
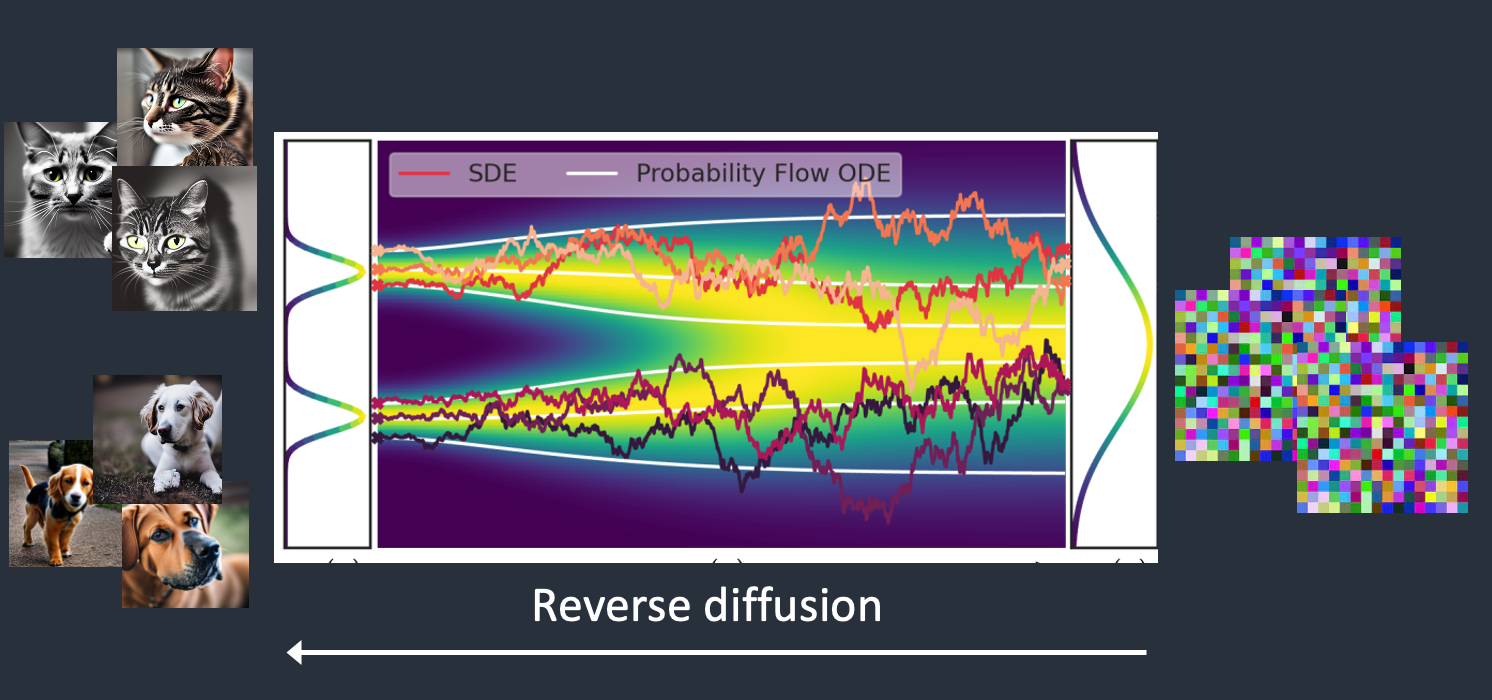
Stable Diffusion is a latent diffusion model that generates AI images from text. Instead of operating in the high-dimensional image space, it first compresses the image into the latent space.
Stable Diffusion belongs to a class of deep learning models called diffusion models. They are generative models, meaning they are designed to generate new data similar to what they have seen in training. In the case of Stable Diffusion, the data are images.
Why is it called the diffusion model? Because its math looks very much like diffusion in physics. Let’s go through the idea.
The goals of lighting in 3D computer graphics are more or less the same as those of real world lighting.
Lighting serves a basic function of bringing out, or pushing back the shapes of objects visible from the camera’s view.
It gives a two-dimensional image on the monitor an illusion of the third dimension-depth.
But it does not just stop there. It gives an image its personality, its character. A scene lit in different ways can give a feeling of happiness, of sorrow, of fear etc., and it can do so in dramatic or subtle ways. Along with personality and character, lighting fills a scene with emotion that is directly transmitted to the viewer.
Trying to simulate a real environment in an artificial one can be a daunting task. But even if you make your 3D rendering look absolutely photo-realistic, it doesn’t guarantee that the image carries enough emotion to elicit a “wow” from the people viewing it.
Making 3D renderings photo-realistic can be hard. Putting deep emotions in them can be even harder. However, if you plan out your lighting strategy for the mood and emotion that you want your rendering to express, you make the process easier for yourself.
Each light source can be broken down in to 4 distinct components and analyzed accordingly.
· Intensity
· Direction
· Color
· Size
The overall thrust of this writing is to produce photo-realistic images by applying good lighting techniques.