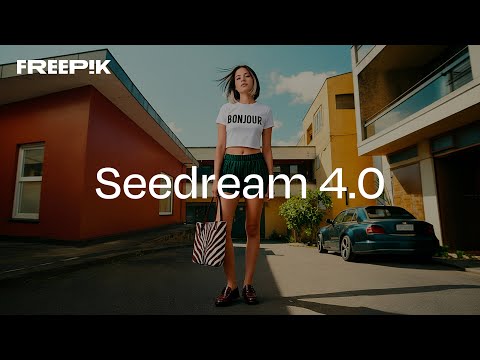
➤ Super‑fast, high‑resolution results : resolutions up to 4K, producing a 2K image in less than 1.8 seconds, all while maintining sharpness and realism.
➤ At 4K, cost as low as 0.03 $ per generation.
➤ Natural‑language editing – You can instruct the model to “remove the people in the background,” “add a helmet” or “replace this with that,” and it executes without needing complicated prompts.
➤ Multi‑image input and output – It can combine multiple images, transfer styles and produce storyboards or series with consistent characters and themes.
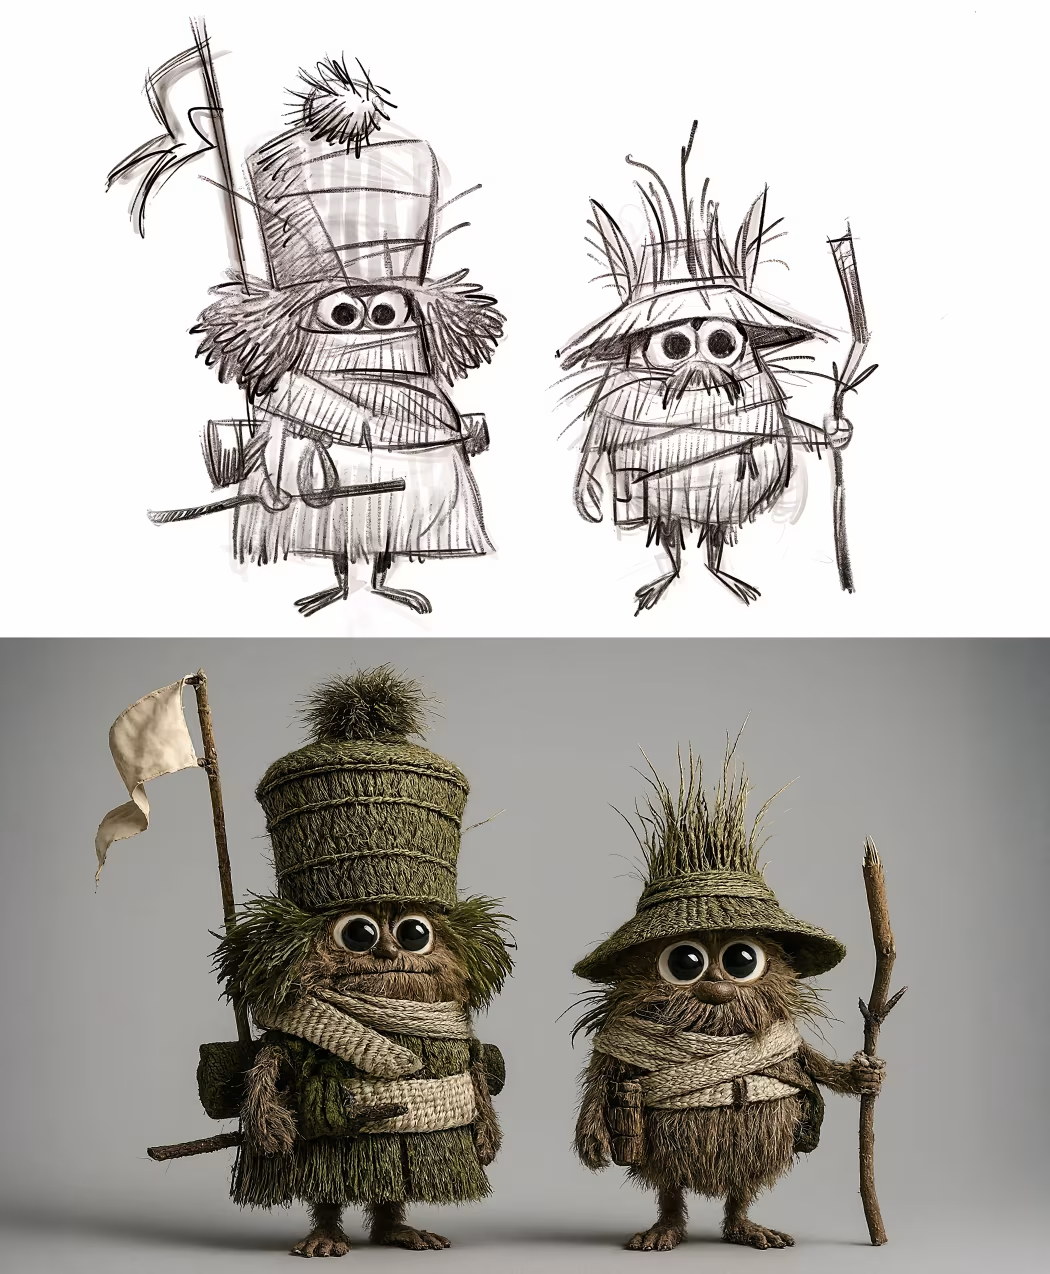
Film, called ‘Critterz,’ aims to debut at Cannes Film Festival and will leverage startup’s AI tools and resources.
“Critterz,” about forest creatures who go on an adventure after their village is disrupted by a stranger, is the brainchild of Chad Nelson, a creative specialist at OpenAI. Nelson started sketching out the characters three years ago while trying to make a short film with what was then OpenAI’s new DALL-E image-generation tool.
The settlement amounts to about $3,000 per book and is believed to be the largest ever recovery in a U.S. copyright case, according to the plaintiffs’ attorneys.
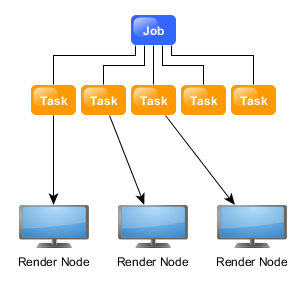
Deadline 10 is a cross-platform render farm management tool for Windows, Linux, and macOS. It gives users control of their rendering resources and can be used on-premises, in the cloud, or both. It handles asset syncing to the cloud, manages data transfers, and supports tagging for cost tracking purposes.
Deadline 10’s Remote Connection Server allows for communication over HTTPS, improving performance and scalability. Where supported, users can use usage-based licensing to supplement their existing fixed pool of software licenses when rendering through Deadline 10.
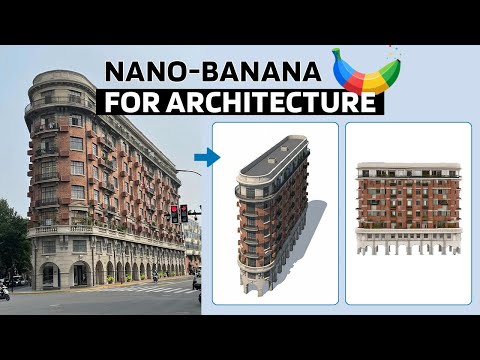
Log in with your Gmail and select Gemini 2.5 (Nano Banana).
Upload a photo — either from your laptop or a Google Street View screenshot.
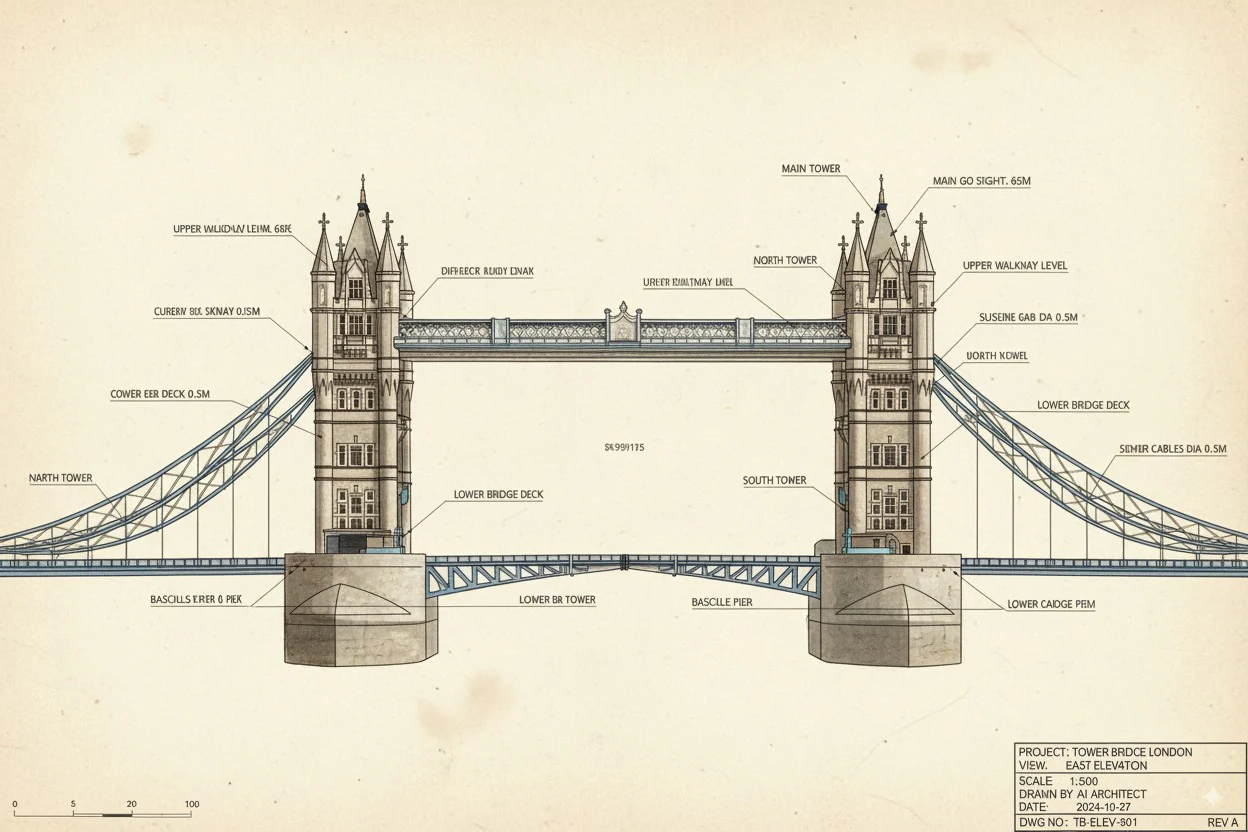
Paste this example prompt: “Use the provided architectural photo as reference. Generate a high-fidelity 3D building model in the look of a 3D-printed architecture model.”
Wait a few seconds, and your 3D architecture model will be ready.
Pro tip: If you want more accuracy, upload two images — a street photo for the facade and an aerial view for the roof/top.
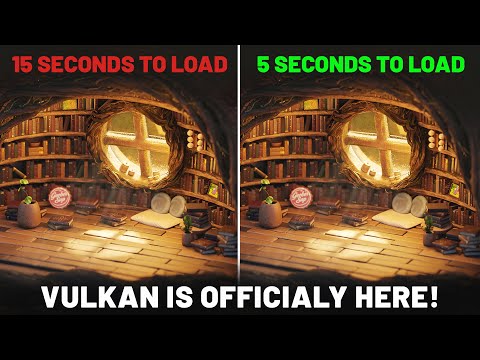
Blender is switching from OpenGL to Vulkan as its default graphics backend, starting significantly with Blender 4.5, to achieve better performance and prepare for future features like real-time ray tracing and global illumination. To enable this switch, go to Edit > Preferences > System and set the “Backend” option to “Vulkan,” then restart Blender. This change offers substantial benefits, including faster startup times, improved viewport responsiveness, and more efficient handling of complex scenes by better utilizing your CPU and GPU resources.
Why the Switch to Vulkan?
Modern Graphics API: Vulkan is a newer, lower-level, and more efficient API that provides developers with greater control over hardware, unlike the older, higher-level OpenGL.
Performance Boost: This change significantly improves performance in various areas, such as viewport rendering, material loading, and overall UI responsiveness, especially in complex scenes with many textures.
Better Resource Utilization: Vulkan distributes work more effectively across the CPU and reduces driver overhead, allowing Blender to make better use of your computer’s power.
Future-Proofing: The Vulkan backend paves the way for advanced features like real-time ray tracing and global illumination in future versions of Blender.
To measure the contrast ratio you will need a light meter. The process starts with you measuring the main source of light, or the key light.
Get a reading from the brightest area on the face of your subject. Then, measure the area lit by the secondary light, or fill light. To make sense of what you have just measured you have to understand that the information you have just gathered is in F-stops, a measure of light. With each additional F-stop, for example going one stop from f/1.4 to f/2.0, you create a doubling of light. The reverse is also true; moving one stop from f/8.0 to f/5.6 results in a halving of the light.
The human eye perceives half scene brightness not as the linear 50% of the present energy (linear nature values) but as 18% of the overall brightness. We are biased to perceive more information in the dark and contrast areas. A Macbeth chart helps with calibrating back into a photographic capture into this “human perspective” of the world.
In photography, painting, and other visual arts, middle gray or middle grey is a tone that is perceptually about halfway between black and white on a lightness scale in photography and printing, it is typically defined as 18% reflectance in visible light
Light meters, cameras, and pictures are often calibrated using an 18% gray card[4][5][6] or a color reference card such as a ColorChecker. On the assumption that 18% is similar to the average reflectance of a scene, a grey card can be used to estimate the required exposure of the film.