Hand drawn sketch | Models made in CC4 with ZBrush | Textures in Substance Painter | Paint over in Photoshop | Renders, Animation, VFX with AI. Each 5-8 hours spread over a couple days.
As I continue to explore the use of AI tools to enhance my 3D character creation process, I discover they can be incredibly useful during the previsualization phase to see what a character might ultimately look like in production. I selectively use AI to enhance and accelerate my creative process, not to replace it or use it as an end to end solution.
This module provides a straightforward, idiomatic interface for authenticating to Vault, managing secrets engines, performing cryptographic operations, and administering a Vault cluster (e.g., initialization, seal/unseal)
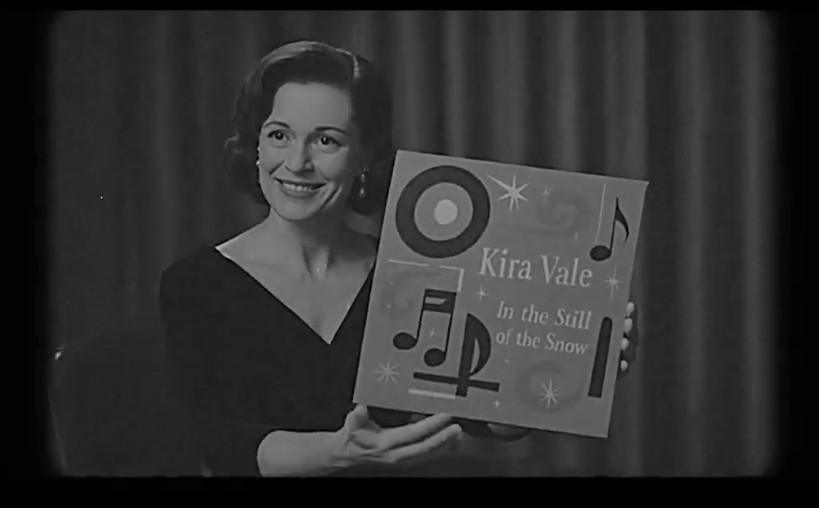
My new AI-assisted short film is here. Kira explores human cloning and the search for identity in today’s world. It took nearly 600 prompts, 12 days (during my free time), and a $500 budget to bring this project to life. The entire film was created by one person using a range of AI tools, all listed at the end. Enjoy. ~ Hashem
Pros:
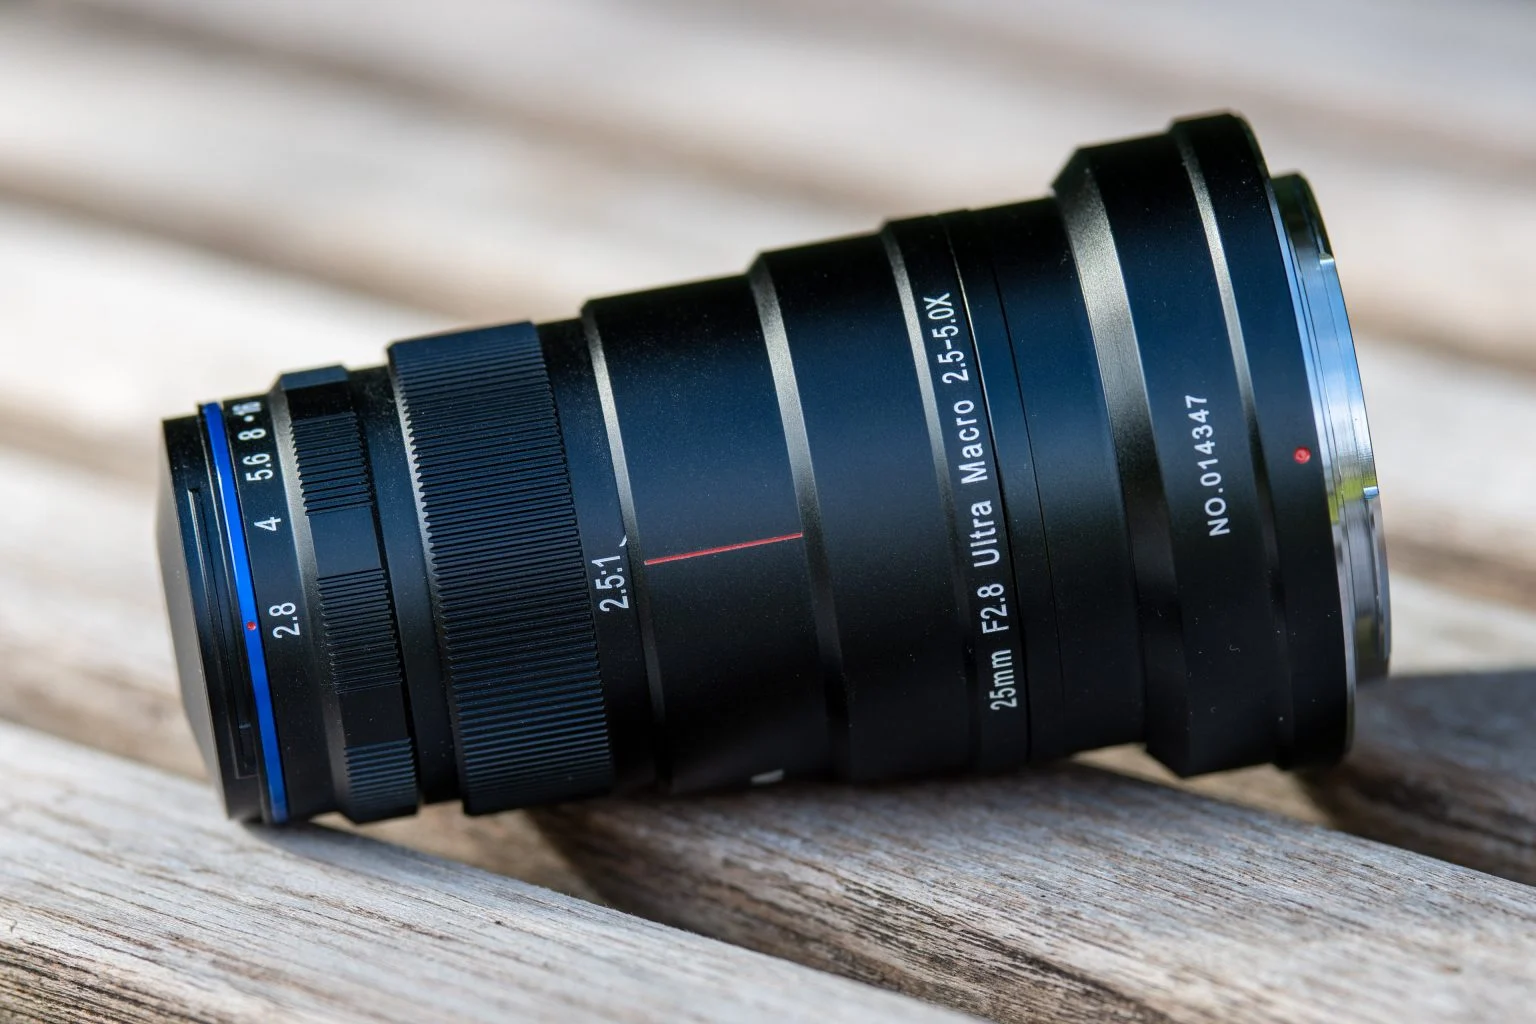
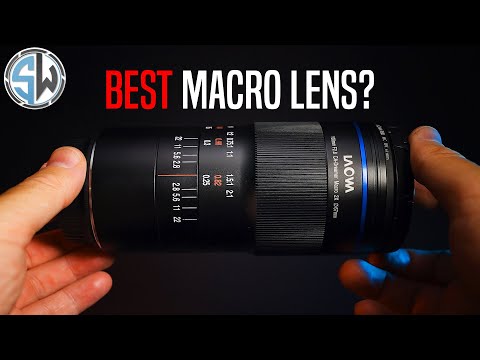
– Lightweight, small size for a high-magnification macro lens
– Highest magnification lens available for non-Canon users
– Excellent sharpness and image quality
– Consistent working distance
– Narrow lens barrel makes it easy to find and track subject
– Affordable
Cons:
– Manual, no auto aperture control
– No filter thread (but still customizable with caution)
– Dark viewfinder when closing aperture makes focusing difficult in poor light conditions
– Magnification range is short 2.5-5x compared to the competition
Combining a Laowa 25mm 2.5x lens with a Kenko 12mm extension tube
To find the combined magnification when using a Laowa 25mm 2.5x lens with a 12mm Kenko extension tube, given the magnification of the lens itself, the extension tube length, and the combined setup, you can calculate the total magnification.
First, consider the magnification of the lens itself, which is 2.5x.
Then, to find the total magnification when the extension tube is attached, you can use the formula:
Total Magnification = Magnification of the Lens + (Magnification of the Lens * Extension Tube Length / Focal Length of the Lens)
In this case, the extension tube length is 12mm, and the focal length of the lens is 25mm. Using the values:
Sourcetree and GitHub Desktop are both free, GUI-based Git clients aimed at simplifying version control for developers. While they share the same core purpose—making Git more accessible—they differ in features, UI design, integration options, and target audiences.
Shutter is the device that controls the amount of light through a lens. Basically in general it controls the amount of time a film is exposed.
Shutter speed is how long this device is open for, which also defines motion blur… the longer it stays open the blurrier the image captured.
The number refers to the amount of light actually allowed through.
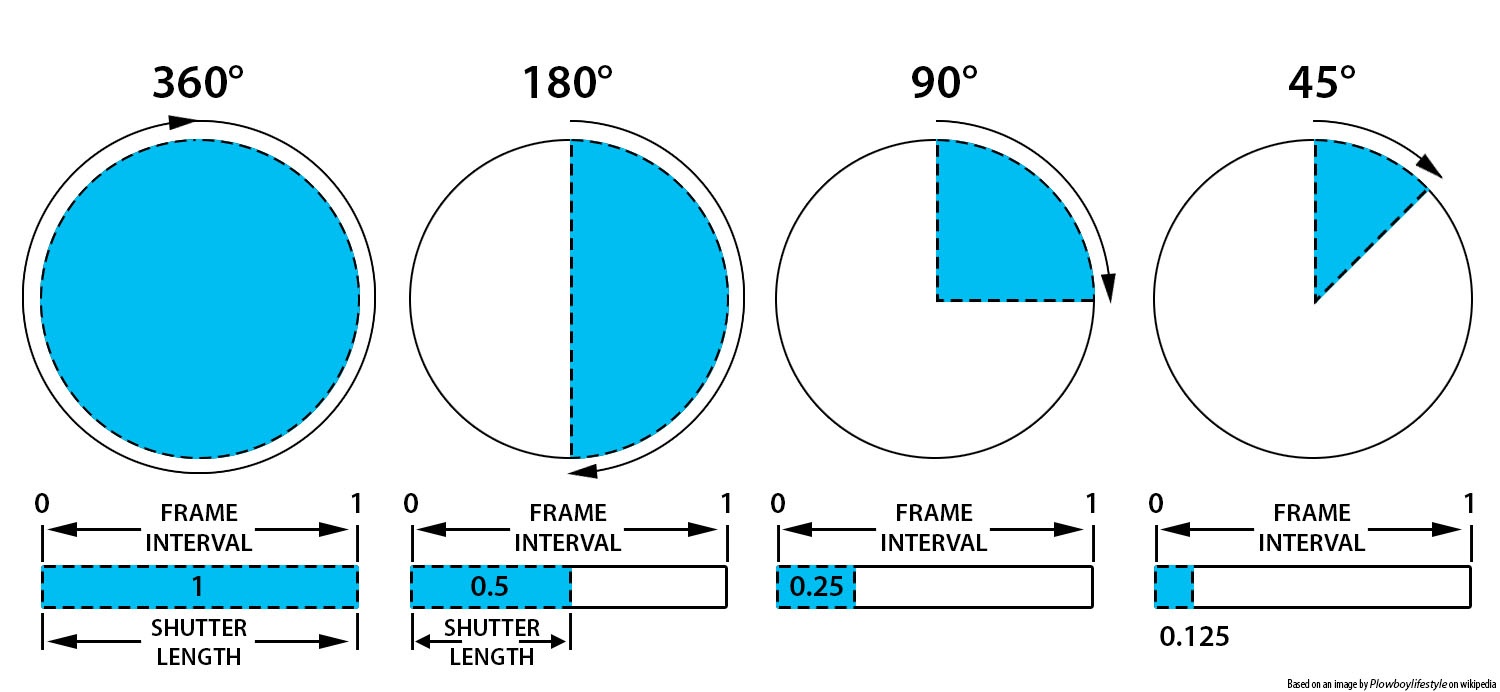
As a reference, shooting at 24fps, at 180 shutter angle or 1/48th of shutter speed (0.0208 exposure time) will produce motion blur which is similar to what we perceive at naked eye
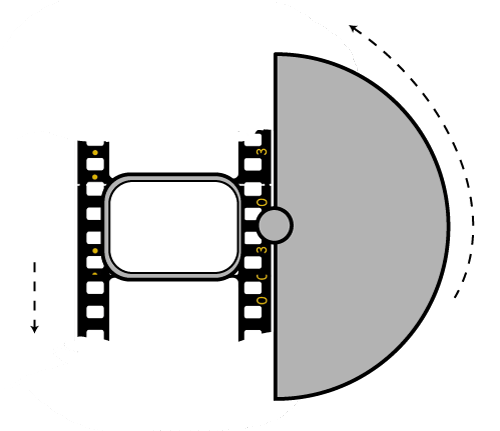
Talked of as in (shutter) angles, for historical reasons, as the original exposure mechanism was controlled through a pie shaped mirror in front of the lens.
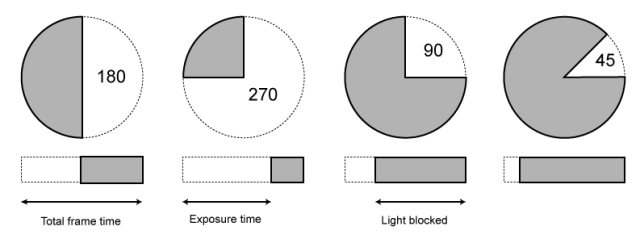
A shutter of 180 degrees is blocking/allowing light for half circle. (half blocked, half open). 270 degrees is one quarter pie shaped, which would allow for a higher exposure time (3 quarter pie open, vs one quarter closed) 90 degrees is three quarter pie shaped, which would allow for a lower exposure (one quarter open, three quarters closed)
For example here is a chart from shutter angle to shutter speed at 24 fps: 270 = 1/32
180 = 1/48
172.8 = 1/50
144 = 1/60
90 = 1/96
72 = 1/120
45 = 1/198
22.5 = 1/348
11 = 1/696
8.6 = 1/1000
The above is basically the relation between the way a video camera calculates shutter (fractions of a second) and the way a film camera calculates shutter (in degrees).
Smaller shutter angles show strobing artifacts. As the camera only ever sees at least half of the time (for a typical 180 degree shutter). Due to being obscured by the shutter during that period, it doesn’t capture the scene continuously.
This means that fast moving objects, and especially objects moving across the frame, will exhibit jerky movement. This is called strobing. The defect is also very noticeable during pans. Smaller shutter angles (shorter exposure) exhibit more pronounced strobing effects.
Larger shutter angles show more motion blur. As the longer exposure captures more motion.
Note that in 3D you want to first sum the total of the shutter open and shutter close values, than compare that to the shutter angle aperture, ie:
shutter open -0.0625
shutter close 0.0625
Total shutter = 0.0625+0.0625 = 0.125
Shutter angle = 360*0.125 = 45
shutter open -0.125
shutter close 0.125
Total shutter = 0.125+0.125 = 0.25
Shutter angle = 360*0.25 = 90
shutter open -0.25
shutter close 0.25
Total shutter = 0.25+0.25 = 0.5
Shutter angle = 360*0.5 = 180
shutter open -0.375
shutter close 0.375
Total shutter = 0.375+0.375 = 0.75
Shutter angle = 360*0.75 = 270